WHAT IS FOUNDATION PAPER PIECING?
Foundation paper piecing. or FPP, is a technique used to piece quilt blocks. Unlike the traditional method (where pieces of fabric are individually measured, cut, and sewn together) and English paper piecing (where fabric is wrapped around paper templates and sewn together bu hand), FPP is a method where a guide marking the seams of a quilt block is printed off, typically on 8.5″ x 11″ copy paper. This pattern is then used as a Foundation for piecing on your sewing machine.
Foundation paper piecing is a beginner friendly technique and once you master the basic skills, you will be able to piece together any pattern, no matter how complex it looks.


If this is a technique that interests you continue reading on here, Instagram, and join my facebook group as the next few weeks I will show you how to make quilt blocks using this fun method.
Quick Reference
This week we are going to focus on gathering our supplies and printing our pattern. Below I will go into detail of what you need, or want to have on hand, but for now here is a quick reference you can have on hand

Sewing machine
Any sewing machine will work for foundation paper piecing as long as it can perform a basic straight stitch and can adjust the stitch length. If you are just getting started and need to purchase a machine, a Brother cs6000i is a great basic machine. Make sure whatever machine you choose to purchase comes with a quilting table and walking foot.
Computer and Printer
It is possible to print patterns off of a smart phone or tablet, but a more reliable method is to print using Adobe Acrobat on a PC. If you do not own either of these, a local library is a great resource. We will discuss more on how to print off a pattern later in the tutorial.
Cutting mat
You will need a self-healing cutting mat. Olfa and Fiskars are great brands that you can find at most local craft stores. You will want to get a fairly decent sized one. Mine is 18″ x 24″. I also use a rotating cutting mat; this is not a necessary purchase, but it is helpful for once you start trimming your individual sections.
rotary cutter and blades
Rotary cutters will be used for cutting your fabric and trimming your sections and blocks. You will only need one, but I like to keep two on had, one for cutting just fabric, and one with a dull blade to trim sections that are attached to paper.
Ruler
A clear ruler with 1/4″ markings are essential for making sure your seam allowances are trimmed just right. I recommend having a long straight ruler like this, as it will be useful for cutting large pieces of fabric and trimming finished quilts and blocks. For the actual foundation paper piecing process, I recommend this ruler set.
Iron and Ironing board

The typical domestic iron and ironing board will work just fine for FPP. For the sake of convenience, I recommend setting up a pressing station next to your sewing machine with a small craft iron and wool pressing mat. You need to press each individual seam as you sew and will likely soon grow tired of moving from your sewing machine to your ironing board. For the craft iron, a Steamfast iron works great. As for the pressing mat, it is worth spending the money to purchase from Project Wool. Their mats are made from 100% wool and leave you with perfectly flat seams.
Thread
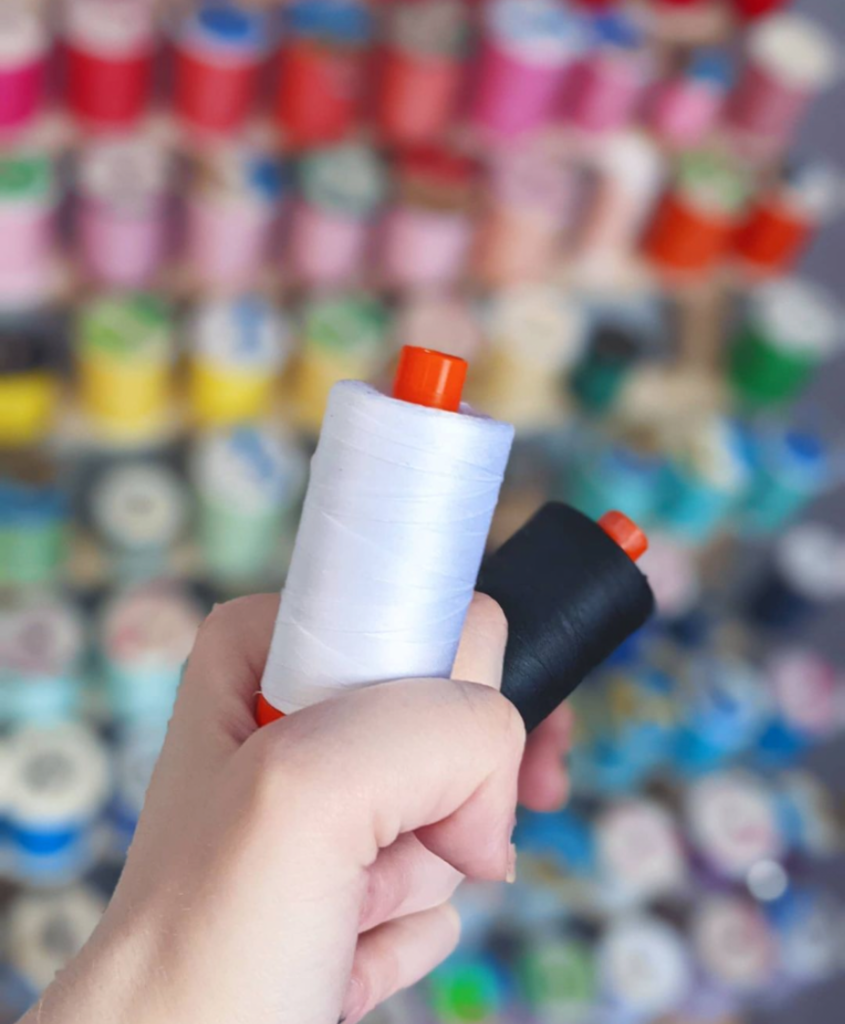
Using a good quality thread makes a significant difference when sewing on your machine. Old thread can be dry rotten and cheaper thread cause significant lint build up. I use Aurfil 50w thread, which can be purchased at most local quilt shops and online. Make sure to purchase the spool with 1,422 yards for maximum value.
seam ripper
No matter how long you’ve been sewing, mistakes are going to happen. Your sewing machine comes with a seam ripper, but I recommend purchasing one with a longer handle.
Paper
Most patterns can be printed off from your home printer. Regular copy 8.5″ x 11″ copy paper is by far your cheapest option, but I prefer to use this brand of paper specifically designed for FPP. The best part about it is, if you don’t like ripping out the paper in the end, you can leave this stuff in!
Tweezers
When you do rip out your pattern after sewing your block together you will want a pair of tweezers to help pull off small pieces of paper. Any type can work well, but I’m particularly fond of Tula Pink’s Swiss Styke tweezers.
Postcard or other small piece of card stock.
We will use this to help us fold along our seam guides to ensure we cut a straight line.
Pattern
For our first lesson I’m including this free pattern, which we will sew together next week. This pattern will make a 6″ x 6″ block, and it is sewn together without any taping of the pattern or sewing any sections together. You will only need two contrasting fabrics with one fat quarter of each. Follow the steps below to print off your pattern.
- Open using Adobe
- . Using the drop down menu for “File,” select “Print.”
- When print settings open up make sure in the section “Paper Sizing and Handling” that “Actual Size” is selected.
- Print.
- To confirm that your pattern is the correct size measure the 1″ black square.
Step 2

step 3

Step 4

Conclusion
As I draw this post to a close, I want to encourage you as you start learning this new skill to be patient with yourself. Even though I believe the FPP method to be the most beginner friendly method of piecing together a quilt block, any skill takes dedication and time in order for you to master it.
I truly hope you enjoy Foundation Paper Piecing.
Come back next week as we begin sewing our block together
Wishing you all the best.
JessieSharon Craft

I have it printed out and ready! 🙂 Thanks for including the link to that wool mat! It looks so helpful.
LikeLiked by 1 person
I’m so happy you’re coming along! The Project Wool mat is seriously one of the best things I own. I highly recommend it for any quilting project, not just FPP!
LikeLiked by 1 person